So we have seen how to configure routing and navigating in the angular application in our last topic. Now in this topic, we will discuss how is Route Guards useful in our application. Route guards are useful when you want to grant or remove access to certain parts of the navigation.
Let’s dive into a brief explanation with an example of Route guards.
There are two types of Route Guards:
- CanActivate
Controls if a route can be activated.
- CanDeactivate
Controls if the user can leave a route. Note that this guard doesn’t prevent the user from closing the browser tab or navigating to a different address. It only prevents actions from within the application itself.
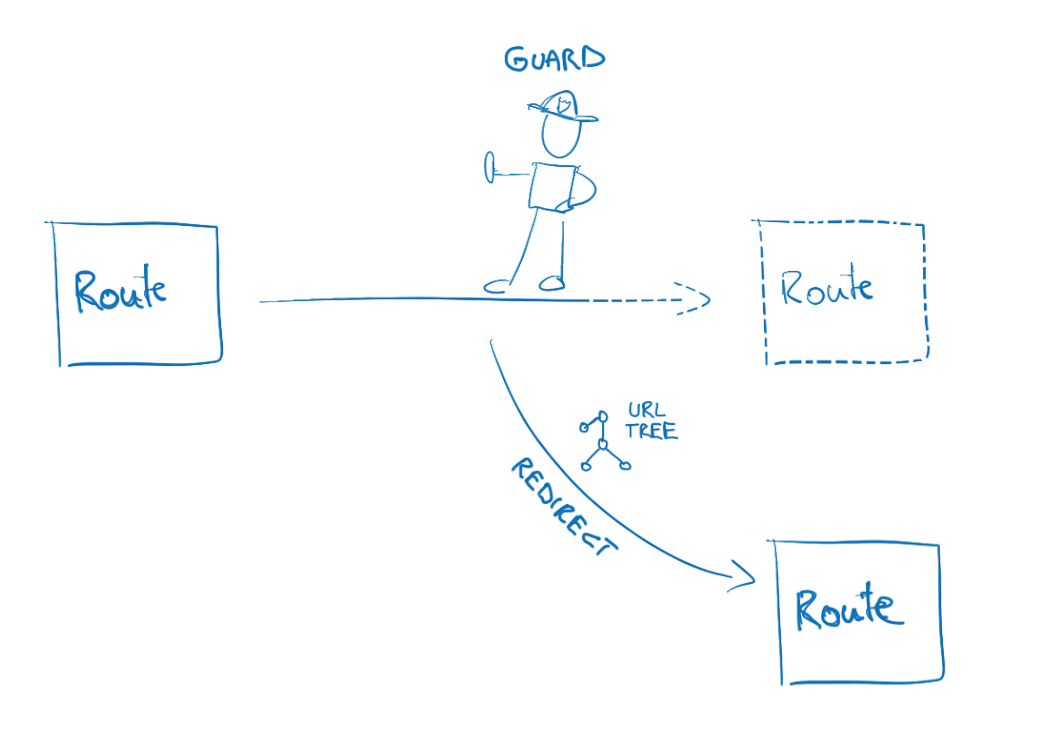
Guarding Against Route CanActivate
canActivate allows determining whether or not the user can navigate. There are a couple of ways to define canActivate either defining function or service.
We will define canActivate method using service. It has more flexibility and the ability to inject other services.
Before applying canActivate method, you can see in this screenshot that it will display all the information with existing data.

Now in this screenshot, you can see if data does not exist in firestore, it is displaying empty information , not redirecting to the NotFound page.

So to solve that problem, here is the solution. First, you need to create a service by implementing the CanActivate interface and register in your app module.
For Example,
Media-route-activator.service.ts
| import {CanActivate , ActivatedRouteSnapshot, Router} from ‘@angular/router’; import { Injectable } from ‘@angular/core’; import { AngularFirestore} from ‘@angular/fire/firestore’; @Injectable() export class MediaRouteActivator implements CanActivate{ constructor( private readonly afs: AngularFirestore, private router:Router){ } async canActivate( route:ActivatedRouteSnapshot){ const id = route.params[‘id’]; var result:boolean=true; const mediaDoc = this.afs.firestore.collection(‘medias’).doc(”+id); await mediaDoc.get().then(function(doc) { result = doc.exists }) if(!result) this.router.navigate([‘/notFound’]) return result; } } |
You can see in the above example, we have implemented the canActivate interface and it’s a method. Here I am finding if the passed id exists in out firestore or not. Depends on the result, I am navigating to the NotFound page if ID does not exist. canActivate method returns a boolean value.
After that you need to add canActivate attribute in your route and pass service as a parameter:
Like this,
| { path: ‘media/:id’, component: MediaComponent , canActivate:[MediaRouteActivator] } |
So that’s it. Now you can see, we are redirecting to NotFound page when id does not exist in firestore.

Guarding Against Route CanDe-activate
CanDeactivate guard is used to notifying the users if they accidentally closing of the page in the middle of the data filling for example form submission.
CanActivate guard is implemented the same way as CanActivate guard.
Let’s start with an example,
can-deactivate-guard.service.ts
| Import { Injectable } from ‘@angular/core’; Import { CanDeactivate } from ‘@angular/router’; Import { Observable } from ‘rxjs’; Export interface DeactivationGuarded { canDeactivate(nectState: string): Observable<boolean>; | Promise<boolean> | boolean; } @Injectable() Export class canDeactivateGuard implements CanDeactivate{ canDeactivate(component: DeactivationGuarded) : Observable<boolean>; | Promise<boolean> | boolean{ Return component.canDeactivate ? component.canDeactivate() : true; } } |
So now we have a CanDeactivateGuard class that implements the built-in interface CanDeactivate. We can now apply this class to any route we wish in our router:
Like,
| { Path: ‘AddMedia’, Component : MediaComponent, canDeactivate : [CanDeactivateGuard ] } |
So now whenever a user tries to navigate away from our route the route guard is going to kick in. Its canDeactivate function is going to run, and, as you can see, this function receives a component as a parameter.
This is the component that is associated with the path. Now the canDeactivate function is going to look at the component and see if the component has a function called canDeactivate.
If it does that function will be executed and the result will be returned back to the guard, and then returned from the guards’ function.
Now, let’s implement the interface in our component:
| Export class MediaComponent implements DeactivationGuarded{ canDeactivate(): boolean | Observable<boolean> | Promise<boolean> { console.log(‘ CanDeactivate has fired in the component ! ’); Return confirm(‘Are you sure ?’); } } |
Conclusion :
So you can see in this article, Angular allows for an elegant solution and good architecture to the user. It has a functionality to save information in the form using Route Guards. In this article, we have learned two types of guards, canActivate and canDeactivate.